
Navigating the art of slicing a 9-inch round cake requires precision! This guide offers techniques for even portions,
whether enjoying a casual dessert or a formal celebration, ensuring a delightful experience.
Why a Guide is Necessary
Achieving neat, uniform slices from a 9-inch round cake can be surprisingly challenging. Without proper technique, you risk crumbling, uneven portions, and a messy presentation. A guide streamlines the process, offering solutions for varying cake densities and frosting types.
It empowers both novice and experienced bakers to confidently cut perfect servings, maximizing enjoyment and minimizing waste. Mastering these skills elevates any occasion!
Tools You’ll Need
Essential tools for successful cake cutting include a long, serrated knife – ideally 10-12 inches long – for clean slices. A turntable simplifies rotation for even cuts. For layered cakes, a cake leveler ensures perfectly flat surfaces. Consider a warm water-filled container to heat the knife. Finally, a spatula aids in transferring slices, and a clean workspace is crucial for a tidy result!
Understanding Cake Structure for Clean Cuts
Cake consistency and frosting type significantly impact cutting ease. Dense cakes hold shape better, while softer ones require extra care and a sharp knife.
Cake Density and Texture Impact
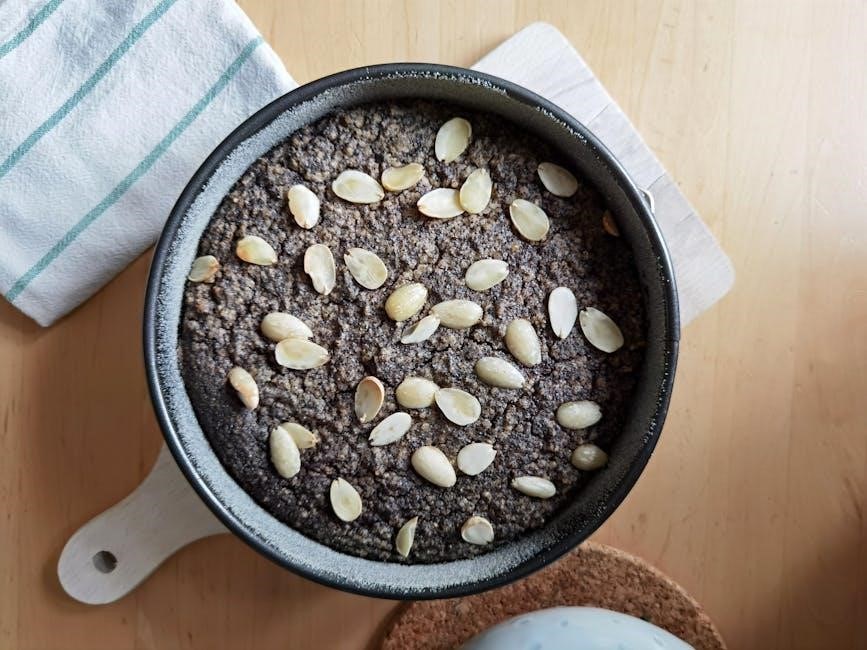
A cake’s internal structure dictates how cleanly it slices. Denser cakes, like pound cakes, offer resistance, allowing for precise cuts with minimal crumbling. Conversely, light and airy sponges, or those with delicate crumb structures, demand a gentler approach.
Texture plays a crucial role; cakes with inclusions like fruit or nuts may require a sawing motion to avoid displacement; Understanding these nuances ensures beautifully presented slices every time, maximizing enjoyment and minimizing mess.
Frosting Considerations
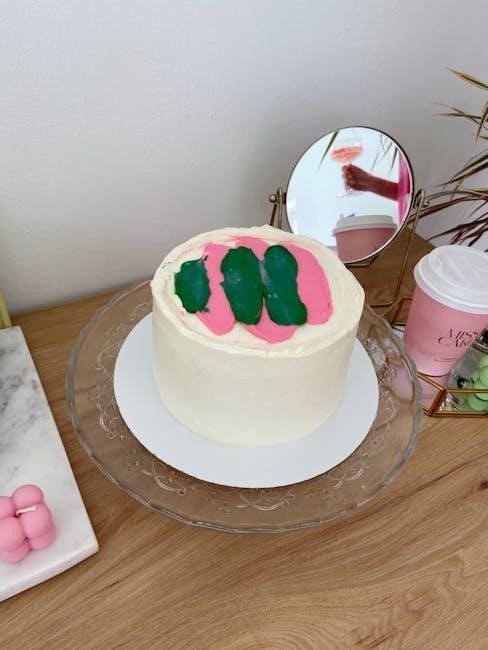
Frosting significantly impacts cutting ease and presentation. Thick buttercream can create resistance, necessitating a warm knife for clean slices. Soft or whipped frostings are more prone to smudging, requiring extra care and potentially chilling the cake beforehand.
The type of frosting also influences technique; delicate cream cheese frosting demands a gentle touch to prevent tearing, while firmer frostings offer more structural support during cutting.
Basic Cutting Techniques
Mastering fundamental methods ensures neat slices. Explore the simple single slice approach and the wedge method for consistently sized portions, ideal for any occasion.
The Single Slice Method
For a straightforward approach, the single slice method is excellent. Begin by positioning your knife at the cake’s center, then slice directly outwards to the edge. A gentle sawing motion, rather than pressing down, yields cleaner results. This technique is best for serving individual portions as needed, offering flexibility. Ensure the knife is clean and sharp for a pristine cut, minimizing crumbs and maintaining the cake’s structural integrity. Practice makes perfect, so don’t be discouraged if initial attempts aren’t flawless!
The Wedge Method for Even Distribution
To achieve uniformly sized slices, employ the wedge method. Visualize the cake divided into equal segments – 8, 10, or 12, depending on desired portion sizes. Start by making a central incision, then cut outwards, maintaining consistent angles. This creates triangular wedges, ideal for parties or when precise serving sizes are crucial. A rotating cake stand assists in achieving accuracy and a professional finish, ensuring everyone receives a fair share!
Cutting for Specific Serving Sizes
Adjusting slice size is key! Smaller wedges suit weddings, while larger dessert slices are perfect for indulging – tailoring portions to the occasion.
Wedding/Party Slices (Smaller)
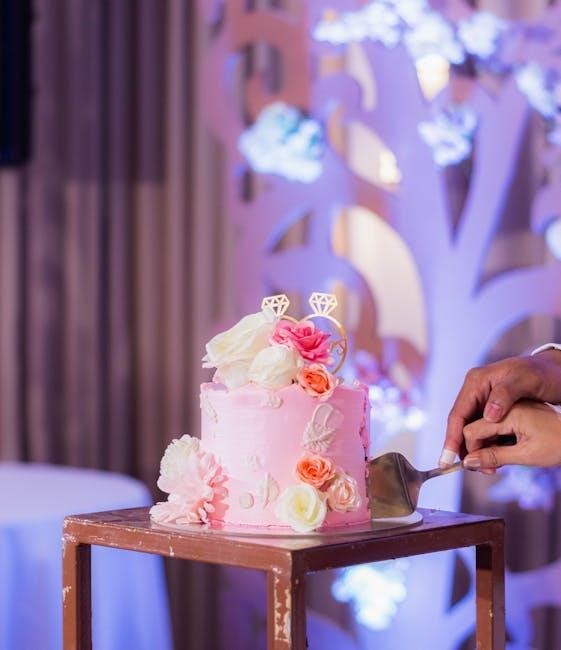
For elegant events, aim for dainty portions. Cutting a 9-inch cake into 16-20 slices creates refined servings, ideal for weddings or parties where guests will sample various desserts.
A narrower wedge presents beautifully on plates, allowing for sophisticated presentation with garnishes. Precise cuts ensure everyone receives a proportionate, delightful bite, enhancing the overall celebratory experience. Consider the cake’s height when determining wedge width for optimal balance.
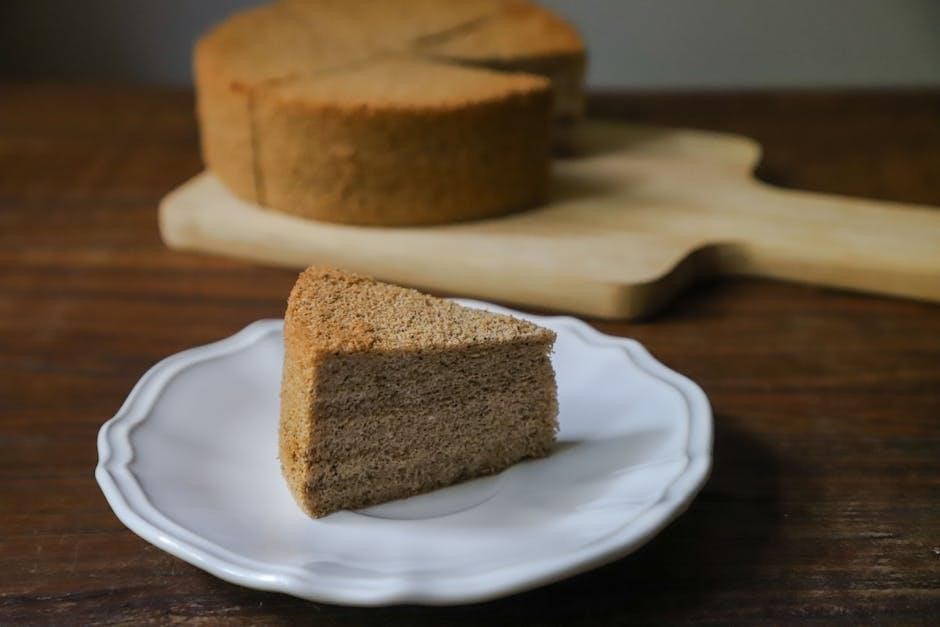
Dessert Slices (Larger)
When cake is the star, generous slices are key! For a satisfying dessert experience, cut a 9-inch cake into 8-12 portions. These larger wedges allow guests to fully enjoy the flavors and textures.
A wider angle provides a substantial serving, perfect alongside coffee or tea. Ensure each slice includes a balanced amount of frosting and filling for a complete indulgence. Consider guest appetites when deciding on slice size.

Advanced Cutting Techniques
Elevate your cake cutting skills! Explore methods like simultaneous slicing and utilizing a cake leveler for perfectly even layers and professional results.
Cutting Multiple Slices Simultaneously
For larger gatherings, cutting several slices at once saves valuable time. Employ a long, serrated knife and, with a gentle rocking motion, carefully slice through the cake from the center outwards. This technique requires a steady hand and consistent pressure to maintain uniform slice sizes. Practice makes perfect, ensuring clean cuts and minimizing crumbs. Remember to support the cake’s edges while slicing to prevent shifting or damage, especially with softer cakes or delicate frostings. This method is ideal for efficiently serving a crowd!
Using a Cake Leveler for Layer Cakes
Layer cakes benefit immensely from a cake leveler, ensuring perfectly flat surfaces for stacking and frosting. This tool removes any dome, creating stability and a professional finish. Adjust the leveler’s height to your desired cake layer thickness, then gently draw it across the cake’s surface. Consistent pressure yields even layers. A leveler is particularly useful for taller cakes, preventing leaning and simplifying the decorating process, ultimately enhancing both appearance and structural integrity.
Dealing with Different Frosting Types
Frosting impacts cutting; buttercream is softer, while cream cheese is delicate. Adjust your knife technique and chilling time based on the frosting’s consistency for clean slices.
Buttercream Frosting Challenges
Buttercream, while delicious, presents unique cutting hurdles. Its softness can lead to smudging and uneven slices if not addressed properly. A warm knife is crucial for gliding through, minimizing drag and creating cleaner lines. Chilling the cake briefly before cutting firms up the buttercream, providing more structural support.
However, avoid over-chilling, as this can make the cake itself brittle. Gentle, deliberate motions are key; avoid sawing back and forth, which exacerbates smudging. Consider wiping the knife clean between each slice for pristine presentation.
Cream Cheese Frosting Considerations
Cream cheese frosting, known for its tang, is even softer than buttercream, demanding extra care. Thoroughly chilling the cake – for at least 30 minutes, or even longer – is paramount. A very warm, clean knife is essential, but be mindful not to overheat it, potentially melting the frosting excessively.
Gentle, upward pressure, combined with a smooth slicing motion, yields the best results. Frequent knife cleaning prevents frosting buildup and ensures neat slices. Expect a slightly stickier texture compared to buttercream.
Preventing Cake Crumbs and Smudging
Minimize mess with a chilled cake and a heated knife! These simple steps drastically reduce crumbs and smudging, resulting in beautifully clean slices every time.
Chilling the Cake Before Cutting
Refrigerating your 9-inch round cake for at least 30 minutes, or even longer, before slicing is crucial. This firms up the cake and frosting, providing significantly more structural integrity; A chilled cake holds its shape better, leading to cleaner cuts and fewer crumbs.
Warm temperatures cause the cake to become soft and pliable, making precise slicing incredibly difficult. Don’t skip this step for professional-looking results!
Using a Warm Knife
Employing a warm knife is a game-changer for clean cake cuts! Run your knife under hot water, then thoroughly dry it before each slice. The heat gently melts the frosting, allowing the knife to glide through effortlessly. Repeat this process between each cut to maintain optimal temperature. A warm knife minimizes crumbs and ensures smooth, professional-looking slices every time – a simple yet effective technique!
Cutting Cakes with Fillings
Cakes with fillings demand a delicate touch! Gentle pressure and a warm knife prevent squishing. Stabilize cream fillings with chilling for cleaner slices.
Fruit Fillings – A Delicate Approach
Fruit fillings introduce a unique challenge when cutting cake. Their softer consistency requires an exceptionally gentle technique to avoid displacement and maintain a visually appealing slice. A warm, sharp knife is crucial, gliding through the cake rather than pressing down.
Slow, deliberate movements are key, and consider wiping the knife clean after each slice to prevent fruit pieces from dragging and creating a messy presentation. Chilling the cake thoroughly beforehand helps firm up the filling, providing additional support during the cutting process.
Cream or Custard Fillings – Stabilization
Cream or custard fillings demand stabilization for clean cuts. These softer fillings are prone to squeezing out during slicing, so proper chilling is paramount – ideally, several hours, or even overnight. A slightly firm, yet not frozen, filling holds its shape better.
Employ a warm knife and gentle pressure. Consider a gentle sawing motion rather than a direct downward push. If the filling remains unstable, a crumb coat can provide structural support before frosting.
Storing Leftover Cake
Proper storage preserves cake freshness! Airtight containers are key, minimizing air exposure. Refrigeration extends shelf life, but room temperature is fine for a day or two.
Proper Container Selection
Choosing the right container is vital for maintaining cake quality. Opt for airtight options like plastic containers with secure lids or cake carriers designed to protect frosting details. Avoid containers that allow air circulation, as this leads to drying.
For cut cakes, consider pressing plastic wrap directly onto the exposed surfaces before sealing the container. This prevents a skin from forming and keeps the cake moist.
Stacking cakes requires a sturdy container to prevent crushing, and separating layers with parchment paper is recommended.
Maintaining Freshness
Proper storage extends your cake’s enjoyment! At room temperature, a tightly sealed cake will stay fresh for 2-3 days. Refrigeration, while drying slightly, extends this to 5-7 days. Freezing is ideal for longer storage – wrap tightly in plastic wrap, then foil, for up to 2-3 months.
Thaw in the refrigerator overnight. Avoid storing near strong odors, as cakes readily absorb them, impacting flavor.
Troubleshooting Common Cutting Problems
Addressing cutting challenges ensures beautiful slices! Uneven cuts or frosting smudges are easily fixed with a chilled cake and a warm, clean knife.
Uneven Slice Heights
Achieving consistent slice heights is key to elegant presentation. If slices vary, it often stems from inconsistent pressure during cutting or an uneven cake surface. Begin by ensuring your cake is level; a turntable helps immensely. Employ a gentle sawing motion, maintaining even pressure throughout each slice.
Visualize the desired slice size and aim for a smooth, continuous cut. Avoid lifting the knife mid-slice, as this creates jagged edges. For particularly tall cakes, consider cutting halfway through, rotating, and completing the slice.
Frosting Transfer Issues
Frosting clinging to the knife is a common challenge! Warm water and a clean cloth are your allies; frequently wipe the blade between each slice. A slightly warmed knife (not hot!) minimizes sticking, creating cleaner cuts. Consider the frosting type – buttercream is more prone to transfer than firmer frostings.
Gentle pressure and a smooth sawing motion also help. Avoid dragging the frosting across the cake; lift straight up after each cut.
Presentation Tips for Cut Cake
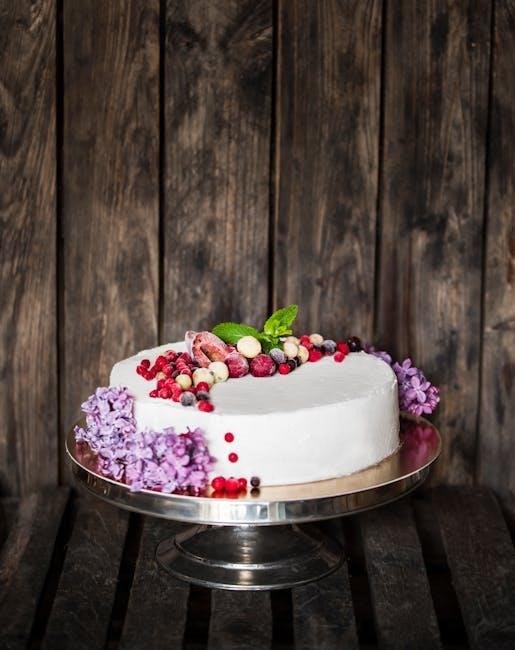
Elevate your cake display with thoughtful plating! Garnishing with fresh fruit, a dusting of powdered sugar, or a delicate sauce enhances visual appeal.
Plating and Garnishing
Individual plating offers an elegant touch, using a small dollop of whipped cream or a contrasting fruit compote beneath each slice. Consider a swirl of chocolate sauce or a sprinkle of toasted nuts for added texture and visual interest.
Garnishing isn’t just about aesthetics; it complements the cake’s flavor profile. Fresh berries, mint sprigs, or even edible flowers can elevate the presentation.
Don’t overcrowd the plate – simplicity often makes the biggest impact!
Arranging Slices on a Platter
For a visually appealing display, arrange slices radiating from the center of the platter, slightly overlapping for a bountiful look. Varying the angle of each slice adds dynamic interest. Consider alternating slices with different toppings or frosting details.
Garnish the platter itself with fresh fruit, chocolate shavings, or a dusting of powdered sugar.
Ensure enough space between slices for easy serving and prevent smudging.

Cutting Frozen Cakes
Frozen cakes demand a sharp, serrated knife and patience! Allow a slight thaw for cleaner cuts, minimizing crumbs and preserving the cake’s structural integrity.
Thawing Considerations
Proper thawing is crucial for a clean cut. Completely thawing a frozen cake can lead to a soft, crumbly texture, making slicing difficult. Instead, aim for a partially thawed state – approximately 15-30 minutes at room temperature is often ideal. This allows the cake to firm up slightly, providing better structure during cutting.
Avoid thawing in the microwave, as this can create uneven temperatures and affect the cake’s consistency. A gentle thaw preserves the cake’s layers and frosting, resulting in neater, more presentable slices.
Technique Adjustments
Cutting a frozen cake demands a modified approach. Utilize a long, serrated knife and apply gentle sawing motions rather than pressing down. The coldness necessitates slower, deliberate cuts to prevent crumbling and maintain slice integrity. Warming the knife slightly between slices can also aid in achieving cleaner results.
Expect a bit more resistance and potential for frosting to adhere to the knife; frequent wiping is recommended. Patience is key when working with a frozen confection!
Resources for Further Learning
Explore online tutorials and videos for visual guidance! Numerous websites and channels demonstrate cake cutting techniques and tool recommendations for success.
Online Tutorials and Videos
Numerous platforms host valuable cake cutting demonstrations. YouTube channels dedicated to baking often feature detailed guides, showcasing various techniques for 9-inch round cakes. Websites like Preppy Kitchen and Sally’s Baking Addiction provide step-by-step instructions with accompanying visuals. These resources cover everything from basic slicing to advanced methods, helping you master even distribution and clean cuts. Search for “cake cutting tutorial” to discover a wealth of helpful content, tailored to different skill levels and frosting types.
Recommended Cake Cutting Tools
Investing in the right tools elevates your cake cutting game. A long, serrated knife is essential for clean slices, minimizing crumbs. Offset spatulas aid in lifting and serving portions gracefully. For precise layering, a cake leveler ensures even tiers. Consider a rotating cake stand for easier access during cutting. Specialized cake servers with angled blades further simplify serving, while a bench scraper assists with frosting cleanup post-slice.
Achieving the perfect 9-inch cake cut blends technique and the right tools! From understanding cake structure to employing advanced methods, practice unlocks consistent, beautiful slices. Remember chilling, warming the knife, and adapting to frosting types. With patience and these guidelines, you’ll confidently serve delightful portions, elevating any occasion with a professional touch.